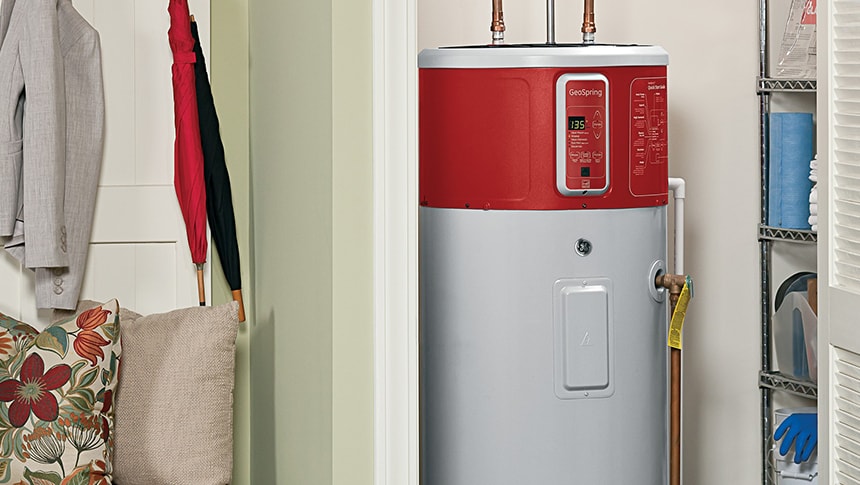
Hybrid electric water heaters (also known as heat pump water heaters) are the most efficient water heater available. They cut water heating energy use by up to 50% and can save you hundreds of dollars a year in energy costs. You can also power your hybrid water heater with renewable energy.
What to consider before purchasing a hybrid water heater
There are a variety of factors to consider when choosing your next water heater. Hybrid water heaters can be a great option, but you will want to consider the following before purchasing your new tank:
- Confirm that you have adequate power available in your water heater location by checking the requirements of the model you are purchasing. Always consult with an electrician if you have questions.
- Determine if your location is right for a hybrid water heater.
- Adequate ventilation: Most tanks need to be installed in a room measuring 700 cubic feet or more (e.g., 7’ x 10’ x 10’). Alternatively, the water heater can be ducted to a larger space/outside.
- Sufficient height: Hybrid water heater tanks are taller than traditional electric tanks, so confirm that your space meets the manufacturer requirements before purchasing.
- Adjacent spaces: Hybrid water heaters can be noisier than traditional water heaters and, when installed without ducting, will exhaust cold air directly into the immediate area. Make sure the tank is not installed in a location that will negatively impact the comfort in your home.
If you’re planning to purchase a hybrid water heater and want to install it yourself, follow these steps. And remember, when in doubt, always reach out to a professional installer such as an Energy Trust trade ally contractor.
Safety first
Before you begin, always shut off the circuit breaker and triple-check your electric current to ensure power is not running to your existing tank. Be careful lifting and moving objects and remember hybrid water heaters are top heavy. Also be aware of leaks or standing water, which can be a slipping hazard.
Step 1: What you’ll need
Tools:
- Screwdriver and wrench set
- Drill
- Measuring tape
- Teflon tape
- Level
- Stepladder
- Electric current tester
- Garden hose
- Pipe cutter or hacksaw
Supplies:
- Hybrid water heater
- Water supply pipes
- Electric tape and caps
- Pipe insulation
- Earthquake straps
- Bottom board (rigid foam insulation)
- Drain pan
- Shims if needed
>Start video at 1:40 for this step
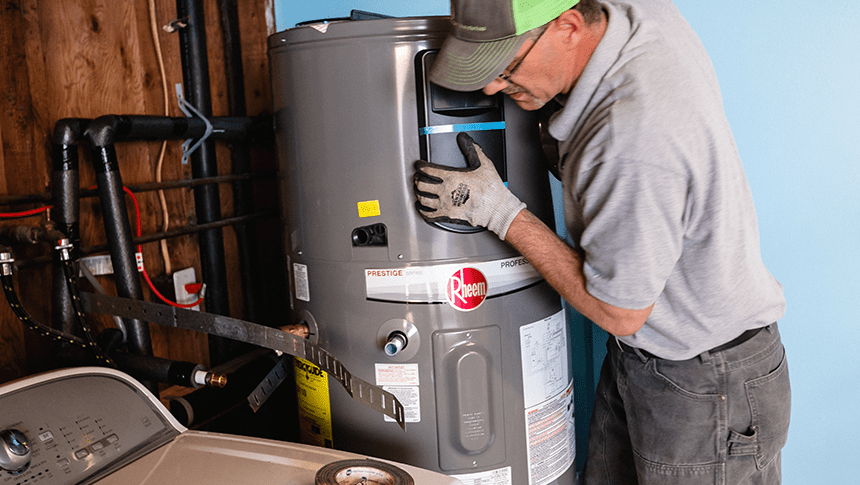
Step 2: Decommission and remove
- To remove your old water heater, first turn off the electricity to the unit at the breaker box. Test with a voltage tester to ensure it’s off. Then disconnect electrical connections.
- Turn off water to the unit and disconnect water connections.
- Drain the unit using a garden hose. A pump may be necessary if you’re working in a basement or with uneven ground.
- Removing the unit is a two-person job so get help, and use a hand truck if needed.
>Start video at 6:24 for this step
Disposing of your old unit
Use the “Find a Recycler” tool at www.oregonmetro.gov to recycle your old water heater. You can also look into junk removal services, local waste centers or Habitat for Humanity or similar reuse stores.
Step 3: Position new unit and install earthquake straps
- Use a water heater drain pan as the marker for your installation location—you can avoid possible flooding by placing the water heater on the drain pan and routing a pipe from the drain pan to the drain. If your water heater doesn’t have one, measure the hot and cold water pipes to ensure proper clearance for the new unit.
- Place the water heater on the bottom board and cut and remove old piping as needed.
- Install earthquake straps.
- Make sure the air filter and front panel are accessible.
- Check that the unit is level. Use shims if necessary. A shim is a piece of material used for leveling that tapers from being very thin on one end to very thick on the far end. Shims can be plastic, metal or wood.
>Start video at 11:58 for this step
Step 4: Connect piping
- Connect water pipes using flexible piping (no soldering, clamps or glue). Use Teflon tape on all threaded connections.
- Install the temperature/pressure relief valve (TPV). Refer to your water heater’s manual for installation instructions.
- Insulate the hot water supply using flexible pipe insulation to maximize energy savings.
- Once secured you can begin to fill up your unit. First, turn on a hot water faucet in your home (this allows air to escape as you fill the tank). Then, turn on the cold water supply to the unit. The tank is full when the faucet has a steady stream.
>Start video at 18:07 for this step
Step 5: Set up drainage
- Direct PVC pipe from the drain port to the drain. You can direct to an existing drain such as your washing machine. If draining outdoors, insulate to prevent freezing.
- If there’s no drain, a condensate pump is required. Follow your unit’s instructions.
>Start video at 19:30 for this step
Step 6: Install electrical connections
To connect the electrical wiring, follow the instructions in your unit’s manual and verify voltage with an electrical current tester. Always contact a professional when in doubt.
>Start video at 20:34 for this step
Step 7: Turn on
- Turn the breaker back on.
- Verify that the condensate drain or pump are working properly in initial uses.
- Turn on the water heater. Hit the on/off button and then the mode button. It should automatically default to energy saver mode.
>Start video at 22:24 for this step
One last thing
Don’t forget, instant discounts are available for your water heater DIY install. See retailer list for details.
Water Heater
Skill level: Easy
Water Heater
Skill level: Medium
Water Heater
Skill level: Easy