How to self-install attic insulation
Insulation Updated: April 18, 2022Prep work, safety tips and steps for DIY insulation projects
Prep work, safety tips and steps for DIY insulation projects
Improving your attic insulation is a cost-effective way to add comfort to your home. It also reduces heating and cooling costs by lowering heat loss in winter and heat gain in summer, and even decreases street noise. Depending on the type of attic space you are attempting to insulate and your comfort navigating the steps to prep your attic, you may find this is a project you can complete yourself. Of course, there’s no shame in contacting a professional.
In this article, we’ll cover important considerations, safety precautions and installation steps.
Before starting any insulation project, you’ll want to determine your existing insulation levels to see if you need new insulation and how much to install. Typically, if the top of your current insulation barely covers the attic floor wood framing, you are likely in need of more insulation.
Our Specifications Manual is a helpful resource for determining your desired insulation level and R-value. The greater the R-value, the more heat transfer is reduced.
There are a lot of safety considerations to keep in mind when you’re working in an attic space. First, when you’re in the attic make sure to move around slowly, stepping from joist to joist to ensure you don’t fall through a weak spot in the ceiling. If there’s no continuous flooring material in your attic, you can use temporary boards laid across the joists as a platform to work from. Be sure to choose boards that are thick enough to support your weight and the materials you are carrying. Rubber-soled shoes will also help you feel the joists beneath your feet so you don’t need to look down, and help you feel them if they’re covered with insulation or located in areas that aren’t illuminated well.
When evaluating your current insulation, look for signs of vermiculite, an insulation material known to contain asbestos (see epa.gov for details). Vermiculite insulation is a pebble-like, material that’s usually gray-brown or silver-gold in color. If you see it, don’t disturb it. You’ll need to put your project on hold and hire a trained professional to remove the vermiculite before you move forward.
Knob and tube wiring is another safety hazard found in some attics, usually in homes built before 1950. If you notice wires running through porcelain cylinders or tubes inserted in holes in the wooden floor joists, that’s knob and tube wiring. If insulation gets anywhere near this type of wiring, it’s a fire hazard. You’ll want to contact an electrician to bring your wiring up to modern standards before doing any insulation work.
You should also be careful around heat producing fixtures such as flues and chimneys. To prevent safety risks, do not put insulation or standard expanding spray foam in direct contact or near these fixtures. Specially rated materials (noted below) are required if sealing air leaks around these areas. Fiberglass loose fill or batts without paper backing are typically approved for direct contact with chimneys and flues.
Once you’ve determined it’s safe to begin your insulation project, it’s time to pick up your materials and get started. Also consider that this is a multi-person job, so have a helper with you. You’ll need an extra set of hands and it’s always safer not to be alone when working in the attic.
For DIY attic insulation, we recommend cellulose or fiberglass loose-fill, blown-in insulation. It has a high R-rating, is easier to install than other insulation options and is readily available at most home centers. In fact, you can often rent the blower for free when you buy a certain number of bags.
1. Decide how much insulation you need
First, determine how much insulation is currently in the attic. Use the guidance in the “Know your existing insulation levels” section above.
Next, subtract your existing insulation level from the recommended level in our Specifications Manual to determine how much insulation you’ll need to reach that target.
Then head to your hardware store where insulation is sold. When purchasing, refer to the chart on the blown-in insulation bag to see how many bags you’ll need to reach your target level. It’s better to err on the side of buying more than you’ll need. You can always return any extra bags you don’t end up using.
2. Seal air leaks
To prevent water vapor transmission and support the effective R-value of the attic insulation, it is recommended that all accessible penetrations between the conditioned and unconditioned spaces be air sealed.
To identify air leaks, pull back the existing insulation around plumbing pipes, lights, walls and any other areas to find gaps, holes or spaces where electrical wires snake through. Existing insulation may appear darker where air leakage is occurring due to the collection of dust or dirt as the air passes through the material.
Once identified, use expanding spray foam to seal the gaps.
Please note: For safety, do not put standard spray foam around or directly against heat-producing items such as chimneys, metal exhaust flues, etc. Specially rated products are required for these areas. When sealing air leaks around chimneys or recessed lights, use a fire-resistant sealant that is ASTM E-84 compliant. If sealing leaks around metal flues used for exhaust from a water heater or furnace, use a fire block/smoke seal caulk that’s ASTM E-136 compliant.
3. Install baffles for chimneys, flues and other heat sources
To prevent heat buildup, insulation shall not be in contact with fixtures as described in section AT 1.5 of the Specifications Manual. When needed, baffles shall keep the insulation at least 3″ but not more than 4″ from the sides of the heat-producing fixtures. Baffles are essentially chutes that provide a way for air to flow through specific parts of your attic. They can be found at any home center. See section AT 1.5 of the Specifications Manual for details on installing baffles around chimneys, flues and other heat sources.
4. Identify and protect vents
Vents in the attic allow moisture in the air to exit to outside. These vents are often located along the underside of the roof overhangs, eaves and soffits, as well as along the roof slopes and ridge. It is critical that insulation does not cover up the vents along the eaves and soffits and block airflow.
Baffles should be installed at each of the vents located along the eaves and soffits to prevent insulation from blocking the air flow. Instructions for installing baffles for vents can be found in section AT 1.3 of the Specifications Manual.
5. Vent exhaust fans directly to the outside
Powered kitchen and bathroom exhaust fans often move wet air from the home into the attic. It is important to ensure this wet air is vented directly to the outside and is not able to mix with the air within the attic.
Common venting strategies include running a properly sized duct from the fan to an existing roof vent and securing to the vent. The connection should be secure and free of any gaps allowing the exhausted air to enter back into the attic. Additional guidance can be found in section AT 1.6 and AT 1.7 of the Specifications Manual.
6. Mark your insulation reference lines
Once you’ve calculated your desired blown-in insulation level, measure up from the drywall and use a marker to mark the level every few trusses. This will help ensure you have even coverage throughout the space, and that you can clearly see markers when dust makes visibility more difficult as your blowing in the insulation.
The height of the insulation material is how you can determine the total R-value. For example, loose fill fiberglass is typically around R-2.5 per inch. To confirm you are achieving a minimum of R-38, the final height of insulation will need to be at least 15″-16″.
7. Set up and fill the blower
The blower machine is quite heavy, so have a partner to help you load and unload. Place the machine on a tarp on a flat area on the ground near a window or vent opening closest to the attic access to provide a direct path for the insulation hose.
The blower includes two hoses that you can connect and snake into the attic. Place tarps down along the way to keep things tidy if the hoses need to do a decent amount of winding through your house. The tool rental location will provide a connector (coupler) to connect the hoses together. You may want to secure the connection by using duct tape over the coupler.
To avoid clogging, your partner can crumble the compressed cellulose blown-in insulation as they load the hopper, while you work the hose in the attic. The hopper is the large tub or trash can-shaped container that holds the insulation before it is blown through the hoses into the home. You can adjust the hopper door if it’s coming out too fast or slow. Because the blower machine is loud, you may need to communicate with each other using cell phones as you go.
The hopper will have to be constantly monitored and insulation added as needed. Never place your hands inside the hopper near the agitator when it is operating.
8. Blow in the insulation to your marks
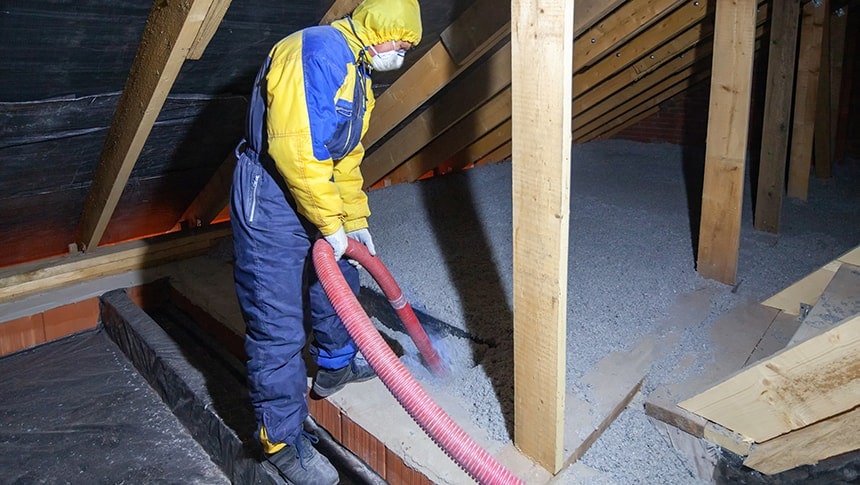
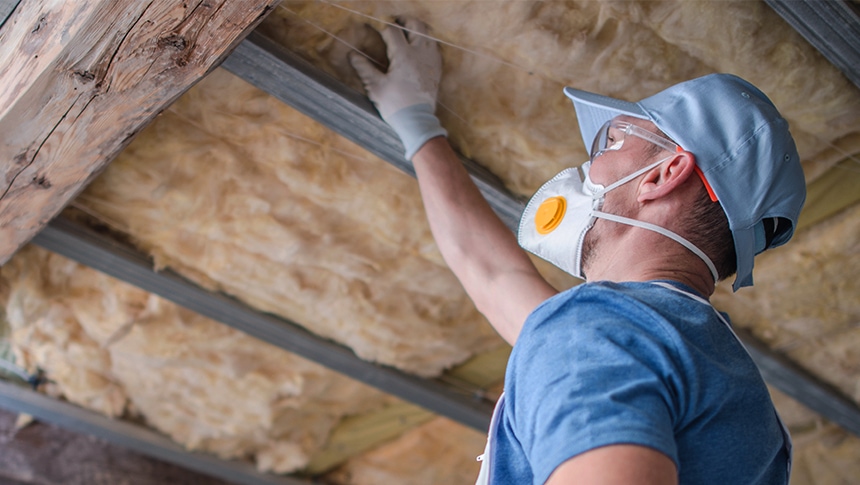
For safety, make sure you have eye protection, gloves, a protective mask and a long-sleeve shirt. Try to avoid moving around too much in the attic. Position yourself in a spot furthest from the hatch (the human access point into the attic) and in the center of the attic.
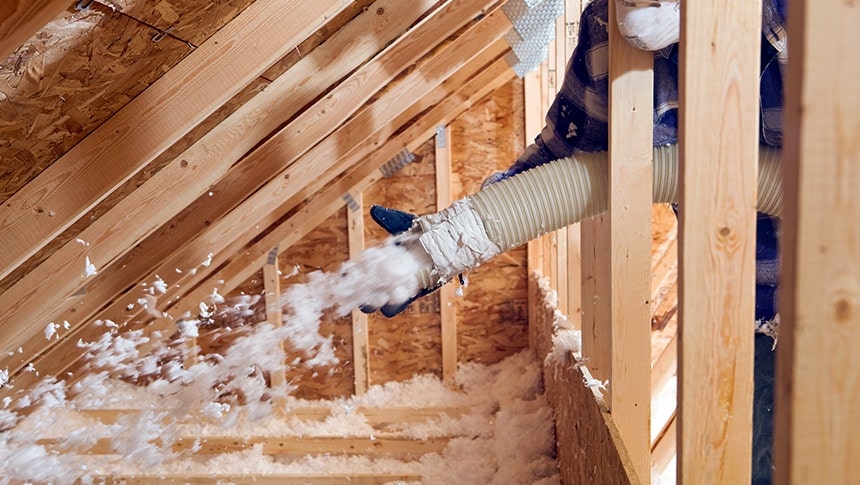
Blow insulation out to the areas at the eaves (the underside of the roof as it extends past the exterior walls of the home) and other tight spots first, pushing the hose out. Pull the hose back slowly using a sweeping motion until you hit the mark for your desired insulation level. Then turn and use the same motion to fill the opposite side.
From a single position, you should be able to blow insulation into three rafter bays (the spaces in between each of the wood framings along the floor of the attic) at a time on each side of the attic. Be careful not to cover any ventilating areas as you work into corners and around eave vents (these areas should be identified and protected with baffles during the prep work before you begin).
Continue blowing insulation until the hopper is empty. It’s ok if you are an inch or two over, as the excess will eventually settle, and as an added bonus, you’ll have a clean machine to return.